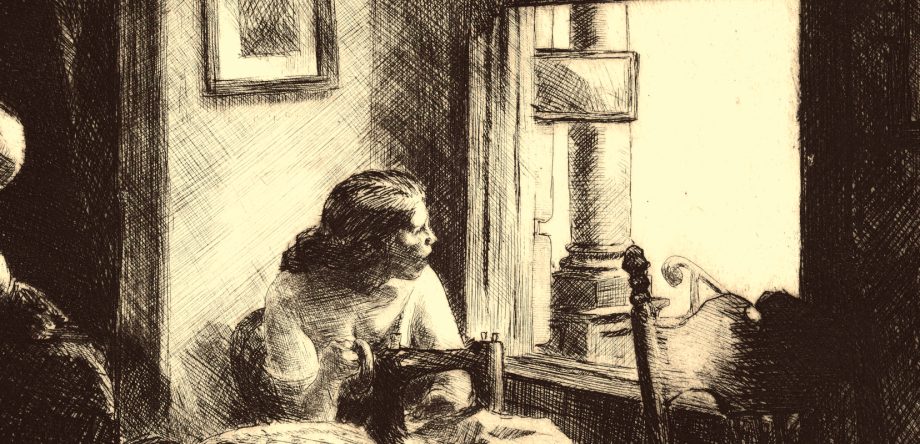
As a space and astronomy nerd, I have been excitedly following the NASA Mars Perseverance Rover Mission, which has just succeeded now in late February in landing a new exploration vehicle on the surface of the Red Planet. Yesterday, I learned that NASA hid a secret massage in the colored panels of the parachute that lowered the rover to the surface of the planet!

The red and white panels of the inner parachute ring were arranged to make a binary code of 0s and 1s, which spelled out the mission slogan “Dare Mighty Things”, while the outer ring encoded the coordinates of the NASA’s Jet Propulsion Laboratory on Earth: 34 11 58 N 118 10 31 W. How cool is that! Here is how I went about turning that blurry original image into a poster.
First, I made a simple outline of the 80 segments of the parachute using the free Photoshop-like tool called Gimp. (Gimp is my go-to for pretty much any kind of detailed image work because it is free and I love free things, plus it is surprisingly powerful.) I drew one segment with the Paths Tool, then copied and rotated and pasted until I had this:

Using the same drawing tools, I outlined the individual panels and other main areas of the parachute, like this:

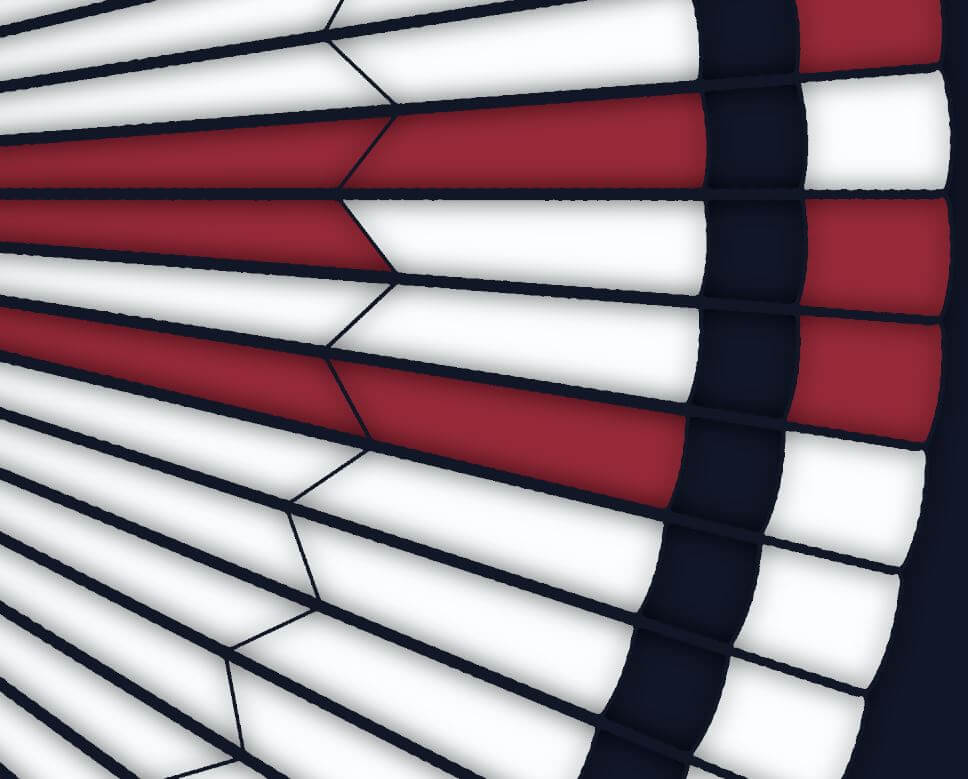
Next it was time to color the panels. Using the eyedropper tool I sampled the colors in the original photographic image (including the beautiful dark blue Martian sky!) as well as various sunlit and shadow areas on the panel. This gave me good and varied color palette for the rest of the work. Now it was time to bucket fill each panel with the appropriate base color:

To give the design a little depth, I added a new “shadow” layer to the image to darken the edges of the individual panels a little. Technically this was at the limit of my graphic design skills and involved much fiddling with Gaussian blurs and masks and other yucky things. However, I think the effect was worthwhile. Here’s how it looked in close-up:
Next it was time to create a ring of outer text. To do this, I switched to my other favorite free graphic tool, Canva. It’s a great online tool for quickly putting together basic designs. It doesn’t have the power of Gimp, but it is very flexible for mocking up ideas — it is also great for creating curved text! And it comes with thousands instantly usable fonts too. I found a really good NASA-looking font called “HK Modular” and used that to create a ring of text to go around the main image:

(The circular element approximated where the parachute would go and helped me to align the text perfectly.) The text ring was made at the largest free image size in Canva (5000 x 5000 pixels) and after downloading it I needed to remove the background as the free version of Canva doesn’t allow you to export transparent images. (One day I will take a Canva subscription because it really is worth it, but for now I’m just a happy freeloader.)
I imported the text ring into Gimp, removed the background, then resized it to wrap around the main image:

The final graphic design step was to imitate the effect of sunlight on the parachute as a whole. To do this I selected the white panels and tinted them towards the blue, before using the spray-gun with white to lighten the parachute areas in the sun. A similar effect was applied to the red panels. The finished design has a nice harmony I think:

My design was then ready for uploading to my Redbubble shop, where you can now find it on:
and 91 other products.
This project stretched my graphic design skills to the limit, but I am secretly pleased just how much I have learned in the last year, both about the tools of the trade and about how to design good-looking products. Now it is on to the next challenge!
/Chris